The Short Answer: What a Framing Inspection Should Confirm
A wood framing inspection checklist for a custom Orlando home should verify that the structure matches the approved plans, carries loads continuously to the foundation, resists wind forces, protects openings, and provides sound backing for roofing, windows, doors, plumbing, electrical work, and finishes. It should occur after framing is substantially complete but before insulation, drywall, or other materials conceal connections. The review should cover lumber condition, wall layout, floor and roof systems, fasteners, connectors, bracing, fire blocking, moisture exposure, and trade penetrations.
Homeowners should treat the checklist below as a quality-control guide, not a substitute for required inspections or project-specific engineering. The governing approved documents, product approvals, manufacturer instructions, and directions from the building official control whenever they differ from general practice. For current statewide code resources, consult the Florida Building Code. For projects under Orange County jurisdiction, permit and inspection information is available through the Orange County Division of Building Safety.
When to Schedule the Framing Review
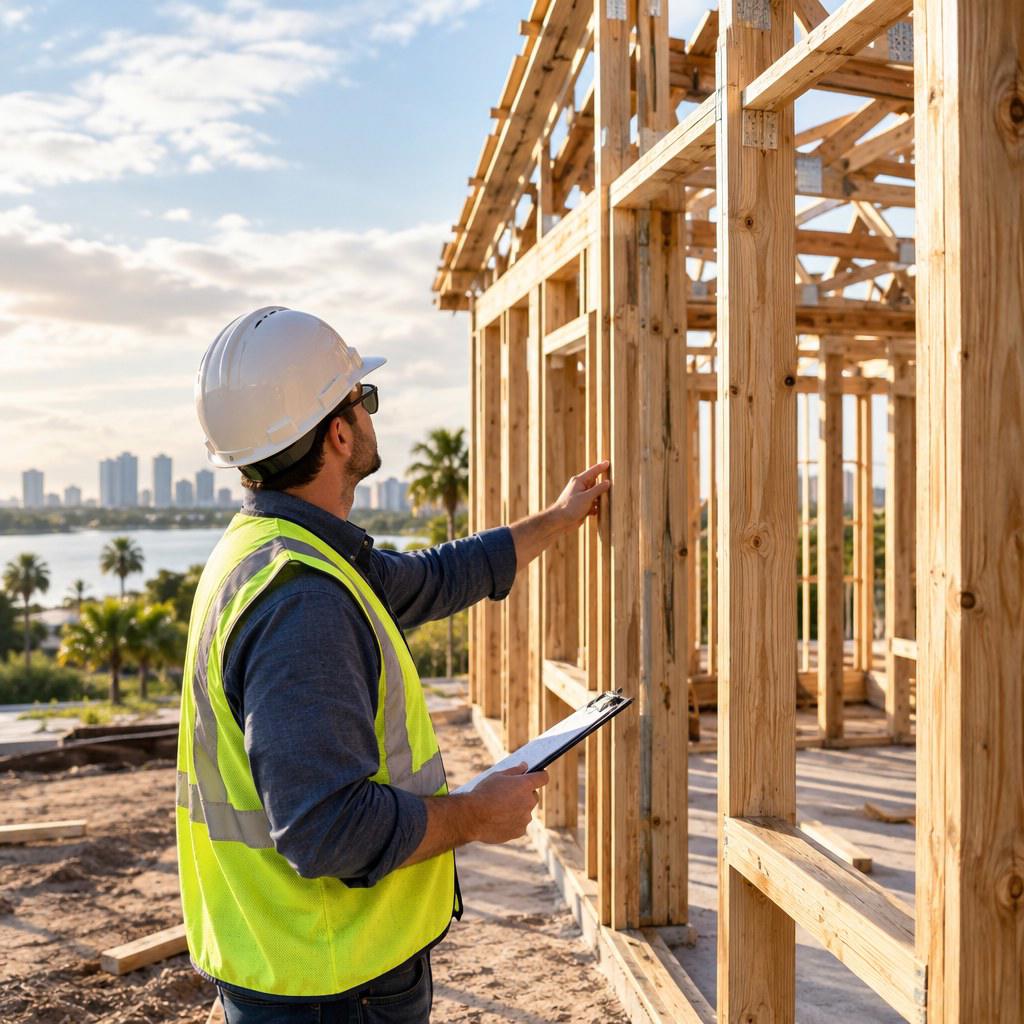
Before scheduling, confirm that structural walls, floors, roof framing, sheathing, and specified connectors are installed. Rough plumbing, mechanical, and electrical work may also need to be far enough along to evaluate cuts and holes. At the same time, deficiencies must remain accessible for correction.
Do not rush this milestone because a closing crew is waiting. Photograph concealed conditions, organize current plan sheets, truss documents, change orders, and product information, then walk the home with the superintendent. If major repairs are needed, request a focused reinspection before covering the area.
Useful documents to have onsite
- Approved architectural and structural plans, including revisions.
- Truss placement diagrams and engineered details.
- Window, exterior-door, and connector product information.
- Written approvals for field changes or repairs.
- Inspection records and a room-by-room correction log.

Wood Framing Inspection Checklist: Structure and Materials
Begin with the load path and overall geometry. Small visible symptoms can indicate larger coordination problems, so record exact locations rather than relying on general notes.
Lumber, walls, and openings
- Check framing for severe splits, decay, crushing, insect damage, prolonged saturation, or excessive warping. Distinguish cosmetic checking from damage that affects capacity.
- Confirm wall locations, dimensions, plate continuity, stud spacing, and required built-up members against the plans.
- Verify headers, posts, king studs, jack studs, and bearing points around doors, windows, and wide openings.
- Look for studs that are crowned, twisted, missing, poorly seated, or cut beyond what the approved detail allows.
Floors, roofs, and load transfer
- Trace bearing from trusses, rafters, beams, and floor members through walls and posts to supporting construction below.
- Check joist and truss orientation, bearing, blocking, bridging, hangers, and connections. Never assume a field-modified truss is acceptable without the appropriate engineered repair.
- Review roof valleys, hips, girder trusses, concentrated loads, and transitions where framing systems meet.
- Sight along walls, floors, ridges, and roof planes for bowing, uneven elevations, or misalignment.

Connections, Wind Resistance, and Exterior Protection
Florida custom homes require close attention to the continuous load path because roof, wall, and foundation connections work together. Inspect the specified straps, clips, anchors, hold-downs, bolts, nails, screws, and structural connectors for correct type, location, orientation, embedment, and installation. A connector can be present yet ineffective if fasteners are missing, substituted, overdriven, or placed in the wrong holes.
Key connector and sheathing checks
- Match connector models and corrosion protection to approved documents and exposure conditions.
- Confirm roof and wall sheathing panel orientation, edge support, gaps, fastening pattern, and damaged areas.
- Inspect anchor placement, plate washers, nuts, sill condition, and required separation from concrete or masonry.
- Check gable ends, overhangs, outlookers, porch tie-ins, garage openings, and other locations that interrupt typical framing.
Exterior openings need coordinated framing and water-management details. Verify rough-opening sizes, sill support, bucks, fastening zones, and clearance for flashing systems. The framing review does not replace a later flashing inspection, but it should identify conditions that would prevent correct installation.

Trade Penetrations, Blocking, and Pre-Drywall Coordination
Rough trades can unintentionally weaken framing after the carpentry crew finishes. Review every drilled hole, notch, chase, and cut in studs, plates, joists, beams, and engineered wood. Location and member type matter; a hole acceptable in one component may be prohibited in another. Flag questionable work for the designer or responsible professional instead of improvising a repair.
Coordination items often missed
- Verify protective nail plates where concealed pipes or wiring pass near fastening surfaces.
- Check fire blocking, draft stopping, soffit backing, stair framing, guard backing, cabinet backing, and bathroom accessory blocking where applicable.
- Confirm top and bottom plates remain continuous or are restored with an approved detail after trade work.
- Review ducts, plumbing stacks, recessed equipment, panels, and large chases for conflicts with headers, straps, bracing, or bearing.
- Confirm framing around tubs, showers, fireplaces, attic access, dropped ceilings, and mechanical platforms before access becomes limited.
For example, moving a drain a few inches may avoid cutting a critical joist or built-up stud. Early coordination usually produces a cleaner correction than reinforcing framing after finishes are scheduled.
Florida-Specific Moisture, Termite, and Durability Checks
Central Florida’s heat, humidity, rain, and termite risk make durability part of framing quality. Examine sill areas, exterior wall bases, roof transitions, balconies, and framed penetrations for paths that could trap water. Confirm specified treated materials are used where plans or exposure conditions call for them, and that incompatible metals or treatments have not created connector concerns.
Keep soil, debris, and stored lumber away from vulnerable construction zones. Check that wall cavities are free of scraps before closure and that termite-treatment sequencing is coordinated with the project team. Because treatment methods vary, verify the selected system through project documents and responsible providers rather than assuming one universal detail.
Edge cases that need special review
- Changes made after permit approval, especially enlarged openings or relocated bearing walls.
- Mixed framing systems, such as wood walls supporting steel beams or masonry interfaces.
- Long cantilevers, tall walls, curved framing, heavy finishes, rooftop equipment, or large sliding doors.
- Repairs based on verbal direction without a traceable detail or updated documentation.
Frequently Asked Questions
Who should perform the inspection?
A qualified building professional should perform required or specialized reviews within their scope. The builder’s superintendent should also conduct internal quality checks. Structural concerns, truss alterations, or uncertain load paths may require review by the project engineer or another appropriately licensed professional.
Can a homeowner use this checklist?
Yes. It helps homeowners ask precise questions, organize photographs, and follow corrections. However, visual access and construction knowledge matter, so the checklist should support, not replace, formal inspections and design review.
What defects deserve immediate attention?
Prioritize missing bearing, altered trusses, cut structural members, absent load-path connectors, displaced walls, damaged sheathing, major moisture exposure, and framing that conflicts with approved plans. Also address anything that will become inaccessible after insulation or drywall.
Should every issue stop construction?
Not necessarily. Cosmetic items and minor punch-list work differ from structural deficiencies. Classify each item, assign responsibility, record the approved correction, and verify completion. Stop covering affected work when concealment would prevent evaluation or repair.
Build the Frame Right Before It Disappears
A thorough framing review creates a clear checkpoint between structural work and enclosure. For custom homes in Orlando, that means confirming plans, connections, moisture readiness, and trade coordination while corrections remain visible and practical.
A7 Constructions can help coordinate custom home planning, construction, remodeling, and on-site quality control with the project team. Before your framing inspection, gather current documents, walk each room, photograph concealed details, and track every correction to closure. A disciplined record keeps builders, owners, architects, and investors aligned and gives the next phase a sound starting point without relying on memory or assumptions later during final project closeout.